The generated web site consists of seven HTM5 pages:
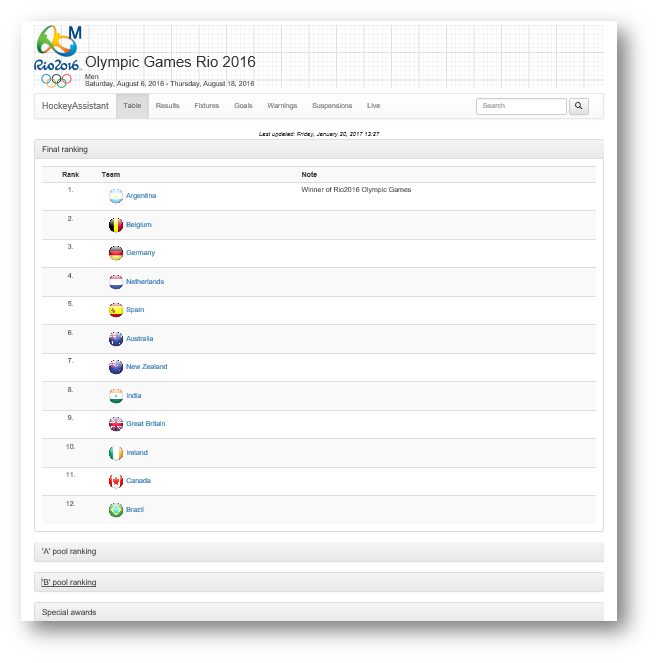
- Table (Index.html): Shows the current/final ranking of all the pools and the ranking of the championship. In addition, this page shows the Special Awards (if any): the best player (MVP), the best goalkeeper and the best scorer. Form the Download reports section the schedule, the championship report and the HockeyAssistant project can be downloaded.
- Results (Results.html): Shows the results of the finished matches. Clicking on the results button of a match the page displays the Timeline of the match. From the timeline of the match window the match sheet (PDF) and the match statistics report (PDF) can be viewed, downloaded or printed.
- Fixtures (Schedule.html): Shows the schedule of the upcoming matches groped by match day.
- Goals (GoalScorers.html): Shows all the goal scorers grouped by number of scored goals and ordered by descending. In addition, this page shows the overall goal statistics of the tournament (Number of total goals, FG, PC and PS goals and goal assists). Clicking on total goals button of a player, a pop-up window appears with the list of the matches on which this player scored.
- Warnings (Warnigns.html): Shows all the warnings card received by players during the tournament grouped by number of warning points and ordered by descending. Each received card worth 1 point, regardless of the color of the card. In addition, this page shows the overall warning card statistics of the tournament (Number of total cards shown, number of green, yellow and cards.). Clicking on total cards button of a player, a pop-up window appears with the list of the matches on which this player received any card.
- Suspension (Suspension.html): Shows the list of all the temporarily or permanently suspended players.
- Live (Live.html):Shows the timeline of the match which is currently captured with Capture match function of HockeyAssistant. This means HockeyAssistant generates a new Live.html file and uploads to your server automatically, if you add a new event during a captured match. If somebody scores a goal, or shots at goal or receives a warning card, then the Live page on your website will be automatically updated within a couple of seconds.
Open your project in HockeyAssistant. Make sure this is the only open project in the program. If you create website first time then we suggest to use the “Olympic Games 2016 Rio, Men” project. (File path: C:\Users\[UserName]\Documents\HockeyAssistant3\Projects\Olympic Games\2016\od_olympic_men_2016.hapx)
Once the project is open click on File menu then click Create website button:

The Website designer will appear:
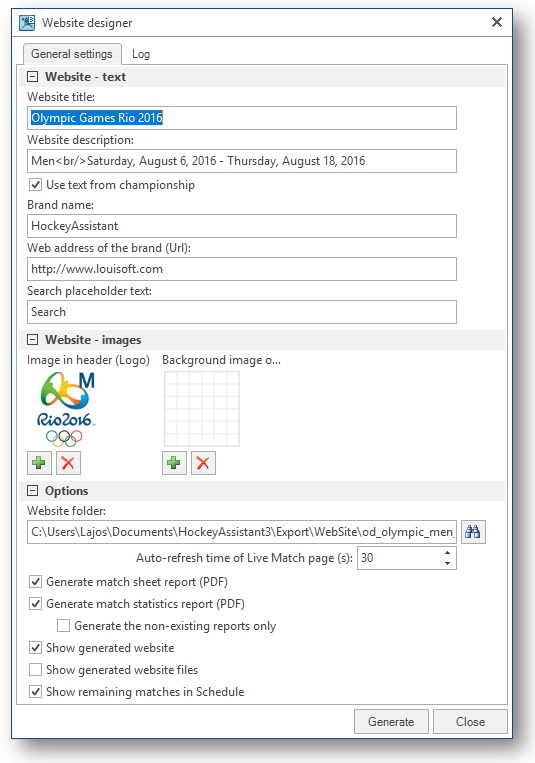
Website – text
Website-text block contains the text appears in header and menu of the website. Please note that the menu text is fixed and appears on the selected language in options.
-
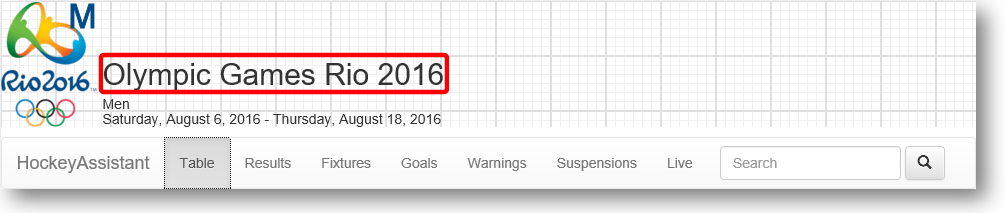
Website title: Title of the website located next to the website icon.
-
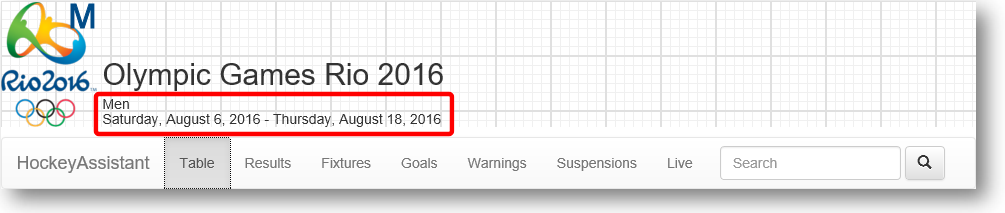
Website description: Title of the website located next to the website icon.
-
Use text from championship check box: If checked then Title and Description are automatically taken from the championship of HockeyAssistant project. Uncheck it you would like to add different website title and description.
-
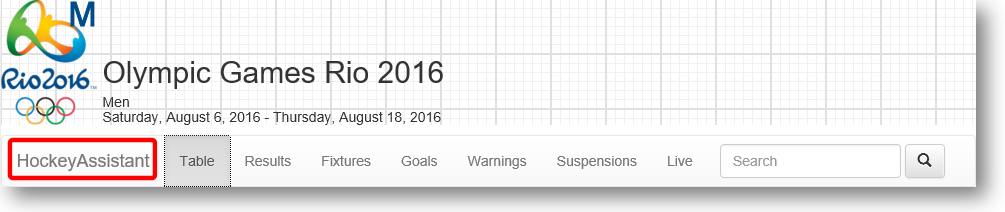
Brand name: Name of Brand/Company/Owner of the website. It appears in the left side of the menu bar.
-
Web address of the Brand: : If user clicks on the brand name then your browser will jump to the web address.
-
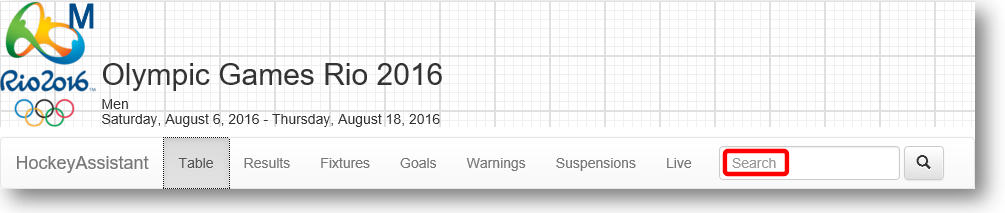
Search placeholder text: Shows the text appears in the search text box if it is empty.
Website – images
Website -images block contains the images appears in the header of the website.
-
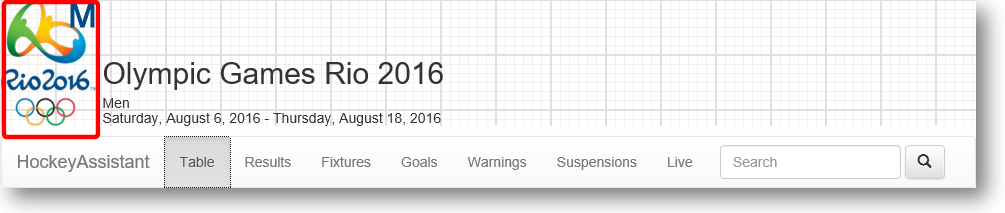
Image in header (logo): This is the logo (icon of the website. The logo should not be larger than 150x150 pixels PNG image.
-
Background image of header: This is the background image of the header. Can be a part of a pattern image (Like squares in this example) or a solid color. The image height must match with height of logo. Width of the background image might be down to 20 pixels, or one piece of pattern. This image will be repeated horizontally.
Options
Options block controls a couple of check boxes. Using these check boxes you can customize your website.
-
Website folder: Select the folder in which you want to store the files of the generated website. By default, it is the Export\WebSite folder in HockeyAssistant3 documents directory. The application fill this text box automatically when you open the Website designer. The default path will be the C:\Users\[UserName]\Documents\HockeyAssistant3\Export\WebSite\[FolderName], where [FolderName] is the name of the championship’s file without extension. (i.e. “od_olympic_men_2016” for our sample project. It is highly suggested to accept the automatically name.
-
Auto-refresh time of Live Match page: This is the time after the Live Match page reloads itself. The default value is 30 seconds. This means if were any changes in the time line of the Live Match your website will reflect the changes in every 30 seconds.
-
Generate match sheet report check box: If checked, then HockeyAssistant will generate match sheets for each finished match.
-
Generate match statistics report check box: If checked, then HockeyAssistant will generate match statistics report for each finished match.
-
Generate non-existing reports only check box: If checked then HockeyAssistant will only generate match sheets and statistics reports if they do not exist. This significantly speeds up the creation of the website.
-
Show generated website check box: If checked then HockeyAssistant will open your website in your default web browser, after the web site has been made.
-
Show generated website files check box:
-
Show generated website files check box: If checked then HockeyAssistant will open folder of the web site in Windows Explorer.
-
Show remaining matches in Schedule check box: If checked then HockeyAssistant will generate schedule of the remaining matches only. (i.e. matches which are not finished yet)
Buttons
-
Generate button: Creates the web site in the specified folder. While the web site is creating the Log page will be shown. The log page shows the web site creation logs and a progress bar about the percentage ready. If the Generate PDF files are checked then the process of creating web site will be slightly slower.
-
Abort button: While HockeyAssistant is generating the website the Abort button will be enabled. Click it if you want to abort generating your website
-
Close button: Closes the website designer. Your web site preferences will be saved.
-
• Upload website button: If the website has been successfully created, then Upload website button appears. If you would like to upload the generated files to your website, then click this button. HockeyAssistant will show you the list of the last used FTP servers.
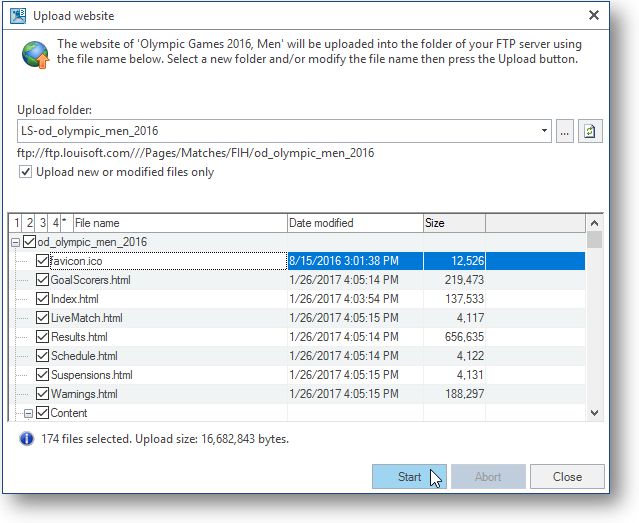
We created a project for the field hockey tournament of the Olympic Games Rio 2016 with a women and a men championships in it. Then we used the Create website function to generate the websites, the we uploaded the two championships to out server.
Notes:
- To upload website files you need Internet connection.
- If you are using mobile Internet connection during the upload, then please note that the size of the generated website is between 10-30 Mbytes.
- On the above screen, shot we preset the password and username of our FTP server. This step is not shown in this article.